Taking a screenshot is like taking a photograph of whatever is on your screen at a point in time. You don’t need to have any special software installed on your PC to be able to do it: Windows 8 and Windows 10 can take a screenshot already.
Your keyboard has a Print Screen button at the top right corner… to the right of the F12 button. It is probably abbreviated, usually to Prt Sc or similar.
All you need to do is to press the Print Screen button. You won’t see anything happening – Windows takes the screenshot and puts the image onto your clipboard. To be able to see, or save the screenshot, you need to paste it into a new file or document.
Probably the easiest thing to do is to open a new Word or Excel document, then click Paste (or press CTRL+V). That will paste your screenshot into your document – you can then save that document and email it to whoever needed to see it.
Print Screen
If you press the Print Screen button on its own, you’ll take a screenshot of the whole screen – so you’d get something like the image below.

ALT+Print Screen
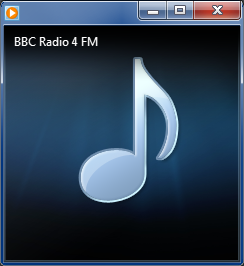
If you hold down the ALT key when you press Print Screen, the screenshot you take will be of the current window. In example above, the current window was the Windows Media Player window, so ALT+Print Screen gives an image like the one below.

